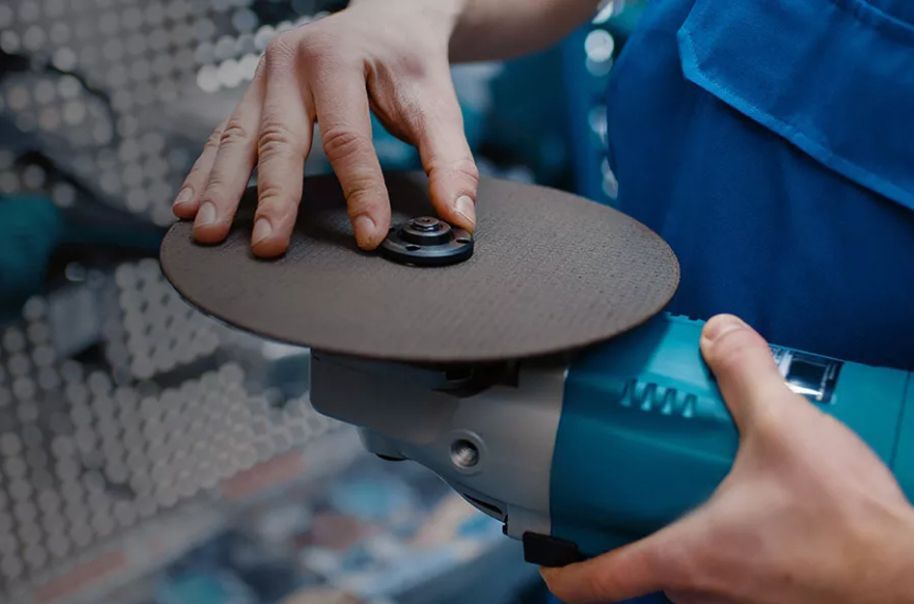
How to Change Angle Grinder Wheel?
In the industry of power tools, the angle grinder stands tall as a versatile companion for artisans and professionals alike. One of the essential skills every user must possess is the seamless replacement of the grinder's disc. Fear not, for we unveil a comprehensive guide to aid you in mastering this crucial skill.
Equip and Prioritize Safety
Before delving into the task, gather your tools:
1. New Angle Grinder Disc: Ensure it matches the specifications of your grinder.
2. Adjustable Wrench or Spanner: Essential for the disc nut removal.
3. Safety Gear: Protect yourself with gloves, goggles, and a face mask to shield against debris and dust.
4. Safety is paramount. Unplug the grinder and clear your workspace to minimize any potential hazards.

Methodical Execution
1. Preparation is Key:
Select a clean, stable work area. Removing clutter ensures you can keep track of all components during the process.
2. Isolate the Grinder:
Safely disconnect it from the power source to prevent any accidental starts.
3. Bid Adieu to the Old Disc:
Most angle grinders feature a locking mechanism for the disc. Utilize the wrench to secure the disc while gently loosening the central nut in a counterclockwise motion.
4. Mind the Details:
As you remove the old disc, take note of the arrangement of washers and spacers. Memorize their order and orientation for effortless reassembly.
5. Spindle Inspection:
Conduct a thorough examination of the spindle. Ensure it's free of debris or damage, and if needed, clean it with a brush or cloth to create a smooth seat for the new disc.
6. Welcoming the New Disc:
Align the fresh disc onto the spindle, ensuring a snug fit against the grinder's housing.
7. Reassemble the Puzzle:
Carefully reconstruct the sequence of washers, spacers, and any additional components in their original order. Referring to your grinder's manual is prudent, as different models might have unique configurations.
8. Securing the New Disc:
Firmly tighten the nut clockwise to secure the disc in place. Exercise caution to achieve the right level of tightness without overdoing it, preventing potential damage.
9. Thorough Check and Trial Run:
Verify that all components are securely fastened. Conduct a test run without any material to ensure the disc operates smoothly and safely.
10. Farewell to the Old Disc:
Dispose of the old disc responsibly, following local regulations for the proper disposal of used abrasive discs.
Conclusion:
Changing an angle grinder disc might seem daunting, but with the proper guidance, it becomes an achievable skill. Always consult your grinder's manual for specific instructions and safety measures. By following these steps attentively, you'll effortlessly replace discs, readying yourself for your next project with confidence and a keen eye on safety.


Comments
Please Join Us to post.
0